
Prepare
Cash requirements
This is the first step to review all invoices, either for a specific vendor, a range of vendors or all Vendors. Once all selection is defined, the program will display an exception report that will include a list of invoices that are not selected to be paid for different reasons: An un-posted line item; vendor in use by other station, invoice not approved to be paid, etc.
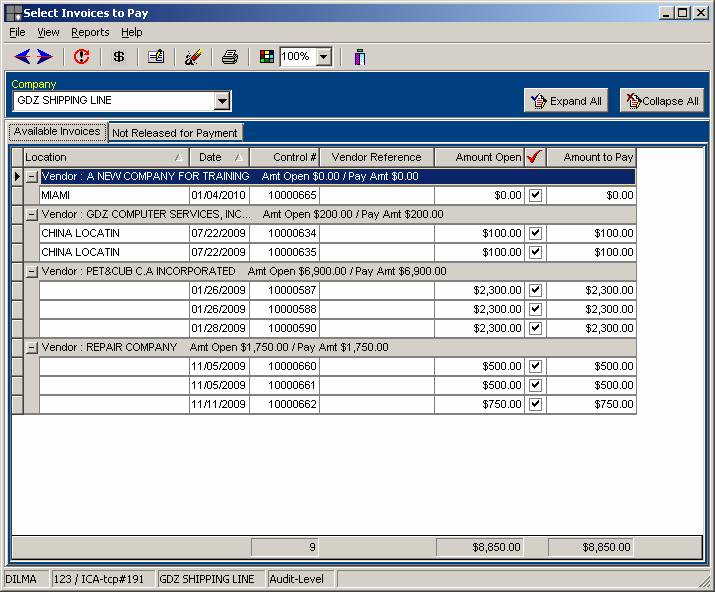
On the other Tab you will find a list of invoices that are pre-selected to pay. You can remove the check marks one by one or if you right-click on the mouse, there are several options to select\de-select, depending on what the user needs to do. The total amount of the invoices selected is shown at the bottom of the screen.
Once the invoices are selected, then the checks can be printed, by selecting the appropriate option from the icons on top or the File option. The right bank account must be selected, the date, period. If it is a wire transfer the program automatically assigns a specific number that starts with a 9 followed by the date and a consecutive number. If it is not a wire transfer, then the check number is taken form the bank account. When the print option is selected, it displays the list of printers.